Night of the Lemon PIE

30 Apr

I have had a craving for lemon cream pie for a few weeks now, and with the warm weather finally approaching I decided it was time to make one! This lemon cream pie is fairly easy, but like most cream pies it has to set for a few hours. I wanted to have it ready in time for dessert so I started it as early in the day as possible. I decided to make a gingersnap crust so that it would really make the flavors pop.

ImageI crushed up a whole lot of gingersnaps and added butter and a little sugar to make the crust. Then I popped it in the oven for a few minutes to make it even more tasty. I pulled that out to cool while I started on the filling.

ImageThere is some sugar and cornstarch and a few other yummy things that I then added a little evaporated milk to and got ready to whisk! Almost constant whisking is a must for this filling otherwise bad things will happen.

ImageAfter whisking for an eternity the filling started to get rather thick. That is when I added butter and eggs and a little bit of lemon zest and a whole lot of fresh lemon juice. I like my lemon pie on the tart side so I usually add a bit lemon to the filling than is called for. It comes out looking like this:

ImageNow that all the lumps and bumps have been lovingly whisked out the filling is ready to be put into a bowl and placed in the refrigerator to chill. Once the crust has completely cooled and the filling is decently chilled you can put the two together to chill in harmony in the fridge. It looks something like this:

ImageOnce the pie and filling have had some down time (a few hours) you can now make the awesome whip cream to go on top. I made mine blue. Because I can. Here is how!

ImageImageImage
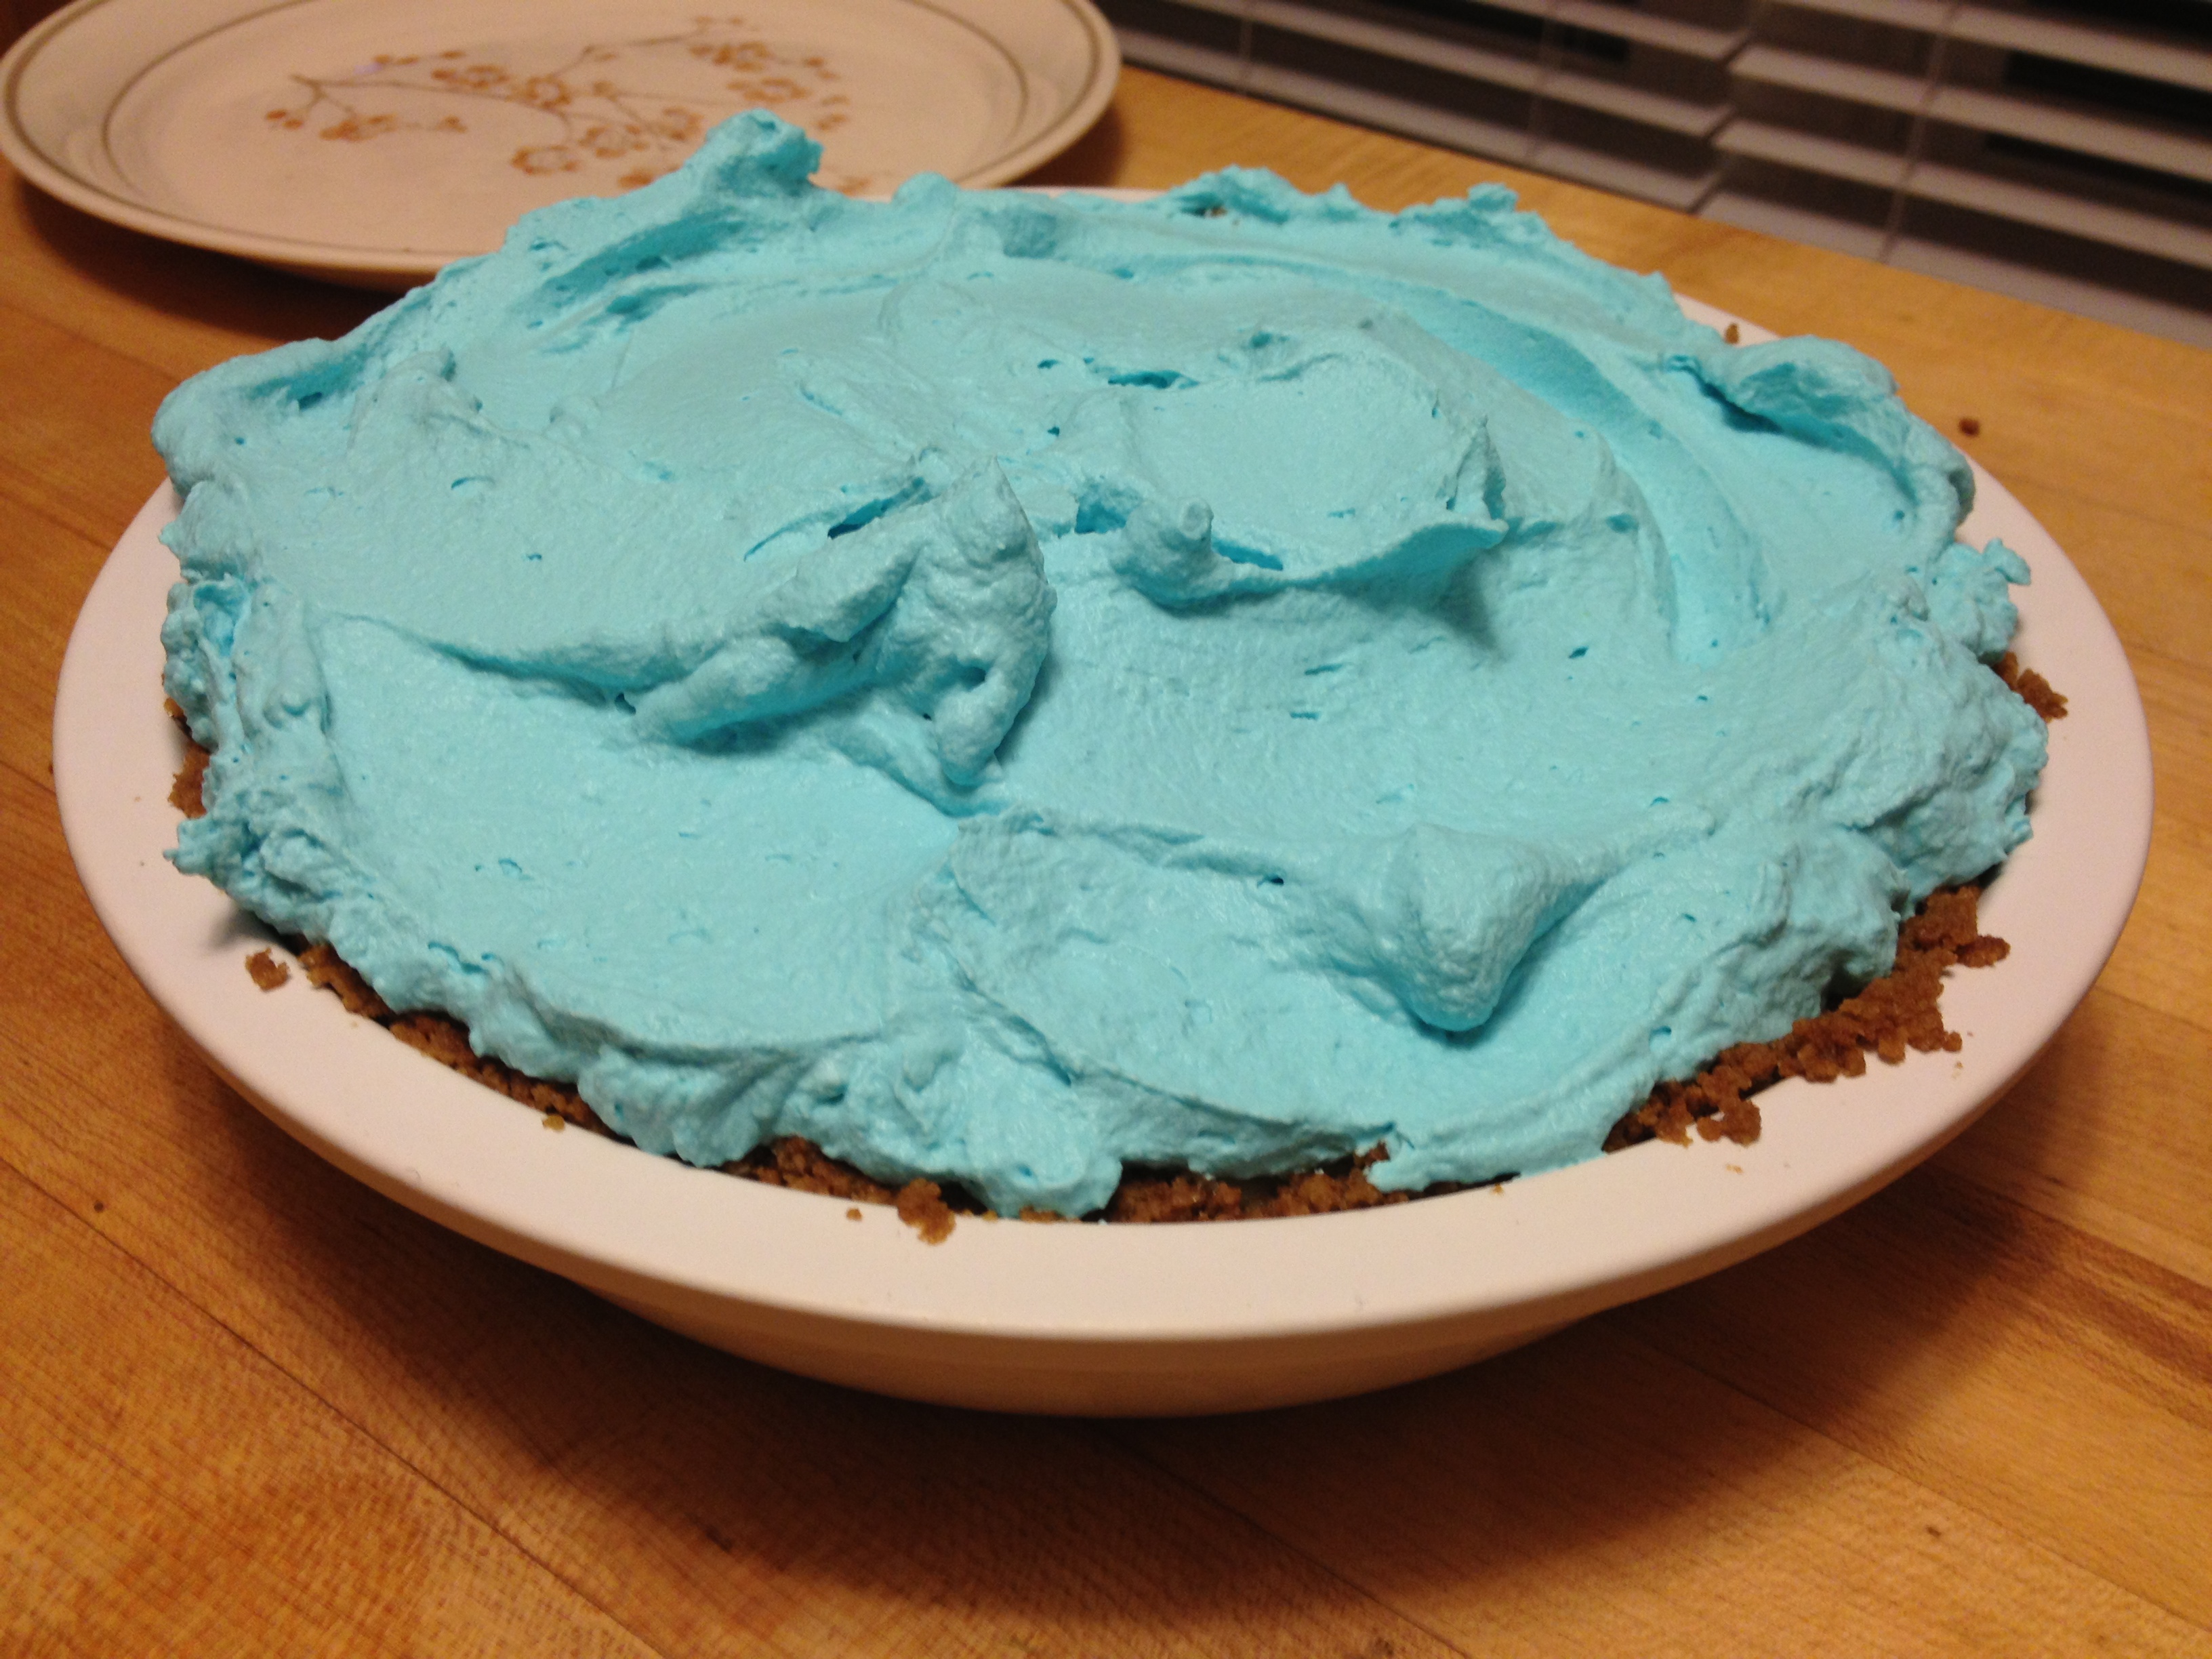
So you make some whip cream with some yummy sugar, vanilla, whipping cream and a bit of blue food coloring. Then you whip it-whip it real good- until it turns into this!

ImageAfter the whip cream is done add it to the top of the pie and get ready to eat it!

ImageImageNow the pie is ready to be sliced and enjoyed with your favorite horror movie! I ate mine with The Frighteners starring Michael J. Fox. ImageUntil next time!

A Good Day to Pie Hard

8 Apr

I have decided to actually start blogging about pies and movies and other awesome things. That was my original intention when setting up this blog, and now I am finally ready to do something with it. To start off my return, or should I say my beginning, what could be more fitting than a not as planned, throw it all together pie?!

The original pie I intended to make was a kick-ass double layer banana cream pie. That was not to be as a very important bag was left at the grocery store. Instead I decided to Pie Hard by pairing various ingredients I had in the fridge with the few essentials for banana cream pie I had managed to get home. The pie ended up becoming a blueberry and banana cream pie  made with almond milk and greek yogurt instead of whole milk. We cheated a little and went back to the store for heavy cream, because hey, you just cannot have a cream pie without delicious homemade whip cream to top it. Here are the photos of my process!

ImageThis is the sugar and tapioca I put in the skillet to start the puddin’ making process. After this I added a few cups of Almond Milk, a half of a vanilla bean (seeds scraped into the milky mixture and pod placed into the pan as well), and turned the heat to medium high. After the mixture began to boil I stirred it a whole whole lot and added a few egg yolks and stirred quite vigorously!

Image


Image


Image


Eventually after all of that stirring and ass-kickin’ a delicious vanilla pudding was formed!

Image


I removed the pudding from the pan and put it in a bowl to cool in the fridge for awhile. While it was cooling I made a crust. This crust was a chocolate toffee nut biscotti crust! I had to mash up a bunch of biscotti, melt some butter and use a bit of sugar to create this awesome crust. 

Image


Image


Image


Once I had everything nice and crumby I pressed it into my pie pan firmly and baked if for a bit. Once the crust had cooled I took my vanilla pudding out of the fridge and removed the vanilla bean pod. I then spread the pudding into the crust and proceeded to mix the blueberries and bananas with 1/4 cup of vanilla greek yogurt and a sprinkle of lemon juice. 

Image


I then mixed the fruit and yogurt softly! until it was well mixed. Then I poured the fruit over the pudding layer. I then made whip cream using heavy cream, sugar, and vanilla extract. I spread a layer of the whip cream over the fruit and pudding, then added a sprinkling of more sliced bananas over that first layer of whip cream. Which I then topped with yet more whip cream and garnished with bananas. The end result was this!

Image


The pie turned out to be pretty great. My next pie post will be a bit more planned. Until then, Pie Hard!

“Gimmie’ some sugar baby!”

5 Apr

Hello Everyone,

One perk about waking up at 5am to head to work is all the delicious coffee I get to consume! I have a well known coffee addiction as anyone who knows me can attest to. I usually drink more than one cup during the day and there are just some days espresso is the only thing that can get me going. Today was definitely one of those days.

My lovely sister Eryn has started working at the same coffee shop that I do. It has been fun working with her and getting to train her on everything espresso and yumm about coffee. Today I had her practice and make me an espresso macchiato.  A little information on this lovely little drink for anyone who may not know what it is. An espresso macchiato is espresso marked with a dollop of delicious frothed milk. The word macchiato is an Italian word that means “stained” or “marked,” and is very similar to the perhaps better known latte macchiato, a version of which Starbuck’s calls their Caramel Macchiato.

Now, I will take you through the steps of making your very own espresso macchiato deliciousness. Firstly, you will need a magical Cup of Holding to hold the awesome power that is espresso coupled with milk. Mine, pictured below, is slightly larger than that what you would need for a single shot because  I rarely drink anything less than a double shot anymore. Anyway, a smaller espresso cup that can accommodate a single shot will work just fine.


Adorable little mug perfect for a double shot.

Next, you will want to steam your milk to a delicious frothy consistency. I suggest whole milk as it produces a much better foam. But, skim, soy, almond, or whatever milk you choose will work just fine. Heat the milk to a nice 140 degrees and set aside for a moment. Now you are ready to brew your espresso shot or shots. I like to brew directly into the warmed mug to keep the crema from being dispersed when pouring the shots into the cup. Now, take your delicious foam and scoop out a large dollop and plop right on top of the espresso and enjoy!

For those of you who may want a little sweetness added to their macchiato might try adding a single pump of dark chocolate or a thick caramel syrup to the mug right before brewing on top of the syrup. Layering is important in a macchiato so putting the syrup in first does not ruin the awesome macchiato look.

Here are some pictures of my finished macchiato, so enjoy, and until next time, eat pie!

side view =)


awesome lacing!

Enjoying the coffee

It's staring at me!

THIS IS IT <3: start shooting

4 Apr

Hello Everyone,
this is my first post and hopefully the first of many to come. This little corner of the Internet will be used to share the things I love. Namely, pie, zombies, movies, and anything else amazing or awesome. Till then, eat pie.